


Docker is a tool that allows developers to easily create, deploy, and manage small, modular services called microservices. By using Docker, you can ensure that your code will run consistently in any environment, eliminating the need to troubleshoot environment-specific issues. Additionally, Docker can significantly accelerate the development and deployment process, making it a valuable tool for teams working with microservices.
In this article, I will demonstrate how to dockerize a react application for development and Configure a production-ready image
Prerequisites:
Docker
Basic knowledge of react and node
We will be using:
Docker
Node v18.12
Create React App
Setting up react application:
Step 1: Create a sample react app using the following terminal command:
npm init react-app myapp --use-npm
This will create a directory named myapp

Step 2: change the directory to myapp
cd myapp
Step 3: Add a Dockerfile to the project root
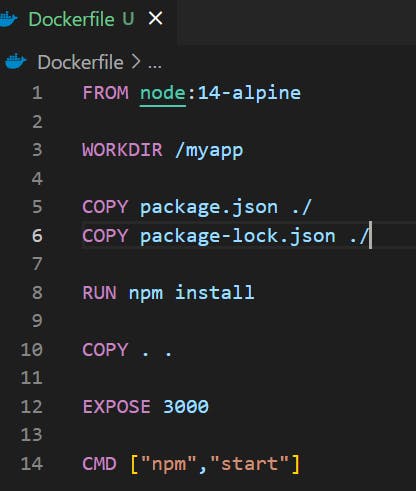
Write the following commands into the Dockerfile
#pull official base image
FROM node:14-alpine

#set working directories
WORKDIR /myapp

#copies the package.json and package-lock.json files into the /myapp directory
COPY package.json ./
COPY package-lock.json ./

#install all the dependencies
RUN npm install

# add app
COPY . .

#expose port 3000
EXPOSE 3000

CMD ["npm","start"]
This Dockerfile specifies that we want to use the official Node.js Docker image based on Alpine Linux, and then copies the package.json and package-lock.json files into the /myapp directory.
It then runs npm install to install the dependencies, copy all the other files into the /myapp directory, and exposes port 3000.
Finally, it specifies that the default command for the image is npm start, which will start the development server for the React application.
This is how it will look like:
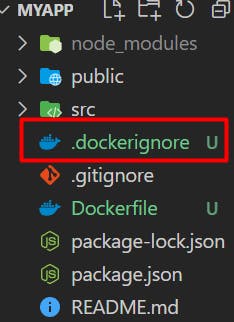
Step 4: Add a .dockerignore file
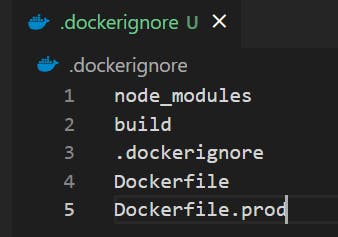
Add the following in dockerignore file:
node_modules build .dockerignore Dockerfile Dockerfile.prod
Save it!
This will speed up the Docker build process by not sending the "node_modules" directory and other files with local dependencies to the Docker daemon.
Step 5: Build and tag Docker image:
docker build -t myreact .
This command will build a Docker image with the name "myreact" based on the instructions in the Dockerfile. The . at the end specifies the current directory as the context for the build.
You can check the build image by doing docker images command, it will show up the image

Step 6: Run the Docker image:
docker run -d -p 3000:3000
This command will start a new container based on the myreact image and bind the container's port 3000 (the default port for the React development server) to the host's port 3000. You can then access your application by going to http://localhost:3000 in a web browser. The -d flag will run the container in detached mode meaning it runs in the background of your terminal. It does not receive input or display output.
You can check the container by doing docker ps which will show the running containers

Wrapping up!!
I hope that by now you have got the Idea of how to dockerize a react application for development.